Insurance Adjuster Inspection: What to Expect in 2026
August 03, 2026
Written by Collin Corcoran
Share


During a property inspection, the insurance adjuster makes a preliminary assessment of the damage based on the actual cash value of the property just prior to the loss. Because this initial visit often sets the baseline for your entire payout, property owners should try to be present to ensure that all property damage is accounted for and nothing is missed. Understanding the adjuster’s role and preparing your own documentation can help demonstrate the true scope of your loss.
Key Takeaways
- Adjuster’s Role: An insurance adjuster’s role is to review the incident, estimate the claims payment, inspect the property damage, and potentially review police reports or speak with witnesses.
- Inspection Attendance: Property owners should try to be present during the adjuster’s inspection to ensure that all property damage is accounted for and nothing is missed.
- Damage Mitigation: Before the inspection, property owners should protect their property from further damage by making temporary repairs, keeping detailed records, and saving all receipts for the repair expenses.
- Debris Removal: Avoid disposing of damaged property or items until the insurance adjuster or company has inspected the damage and cleared removal — and if health, safety, or local rules require earlier removal, photograph everything first.
- Valuation Method: During the inspection, the adjuster makes a preliminary assessment of the damage based on the actual cash value of the property just prior to the loss.
What the Adjuster Evaluates During the Visit
An insurance adjuster’s role is to review the incident, estimate the claims payment, inspect the property damage, and potentially review police reports or speak with witnesses [1]. When the carrier’s representative arrives at your property, they are looking for specific evidence to determine coverage, establish the timeline of the event, and calculate the initial payout. Understanding their objectives can help you interact more effectively during the walkthrough.
Scope and Cause of Loss
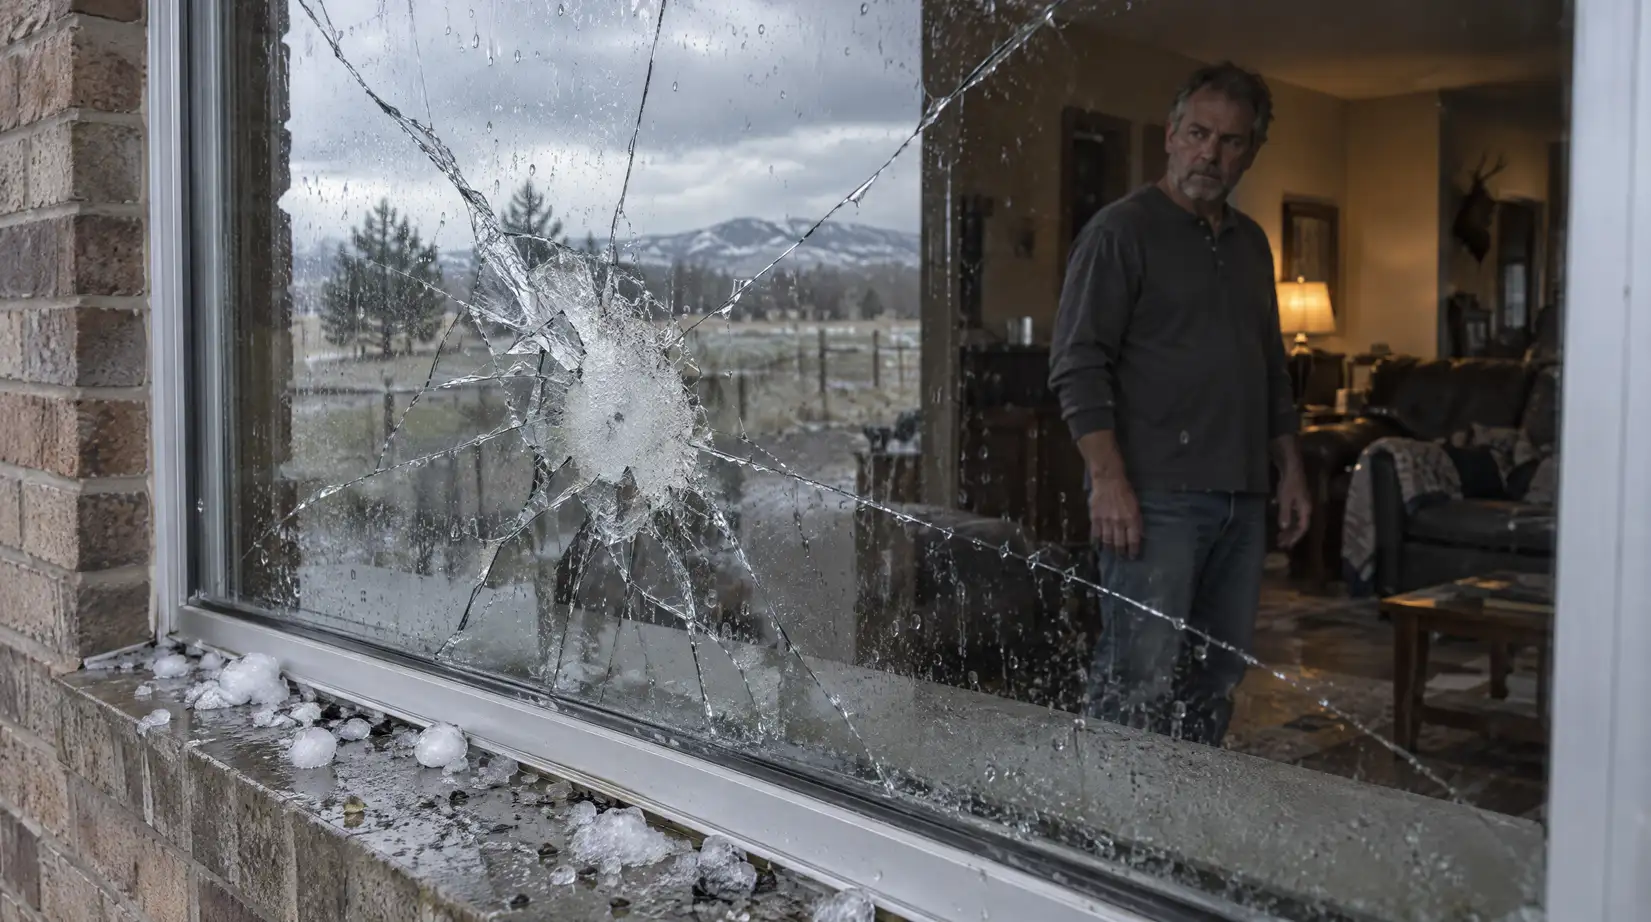
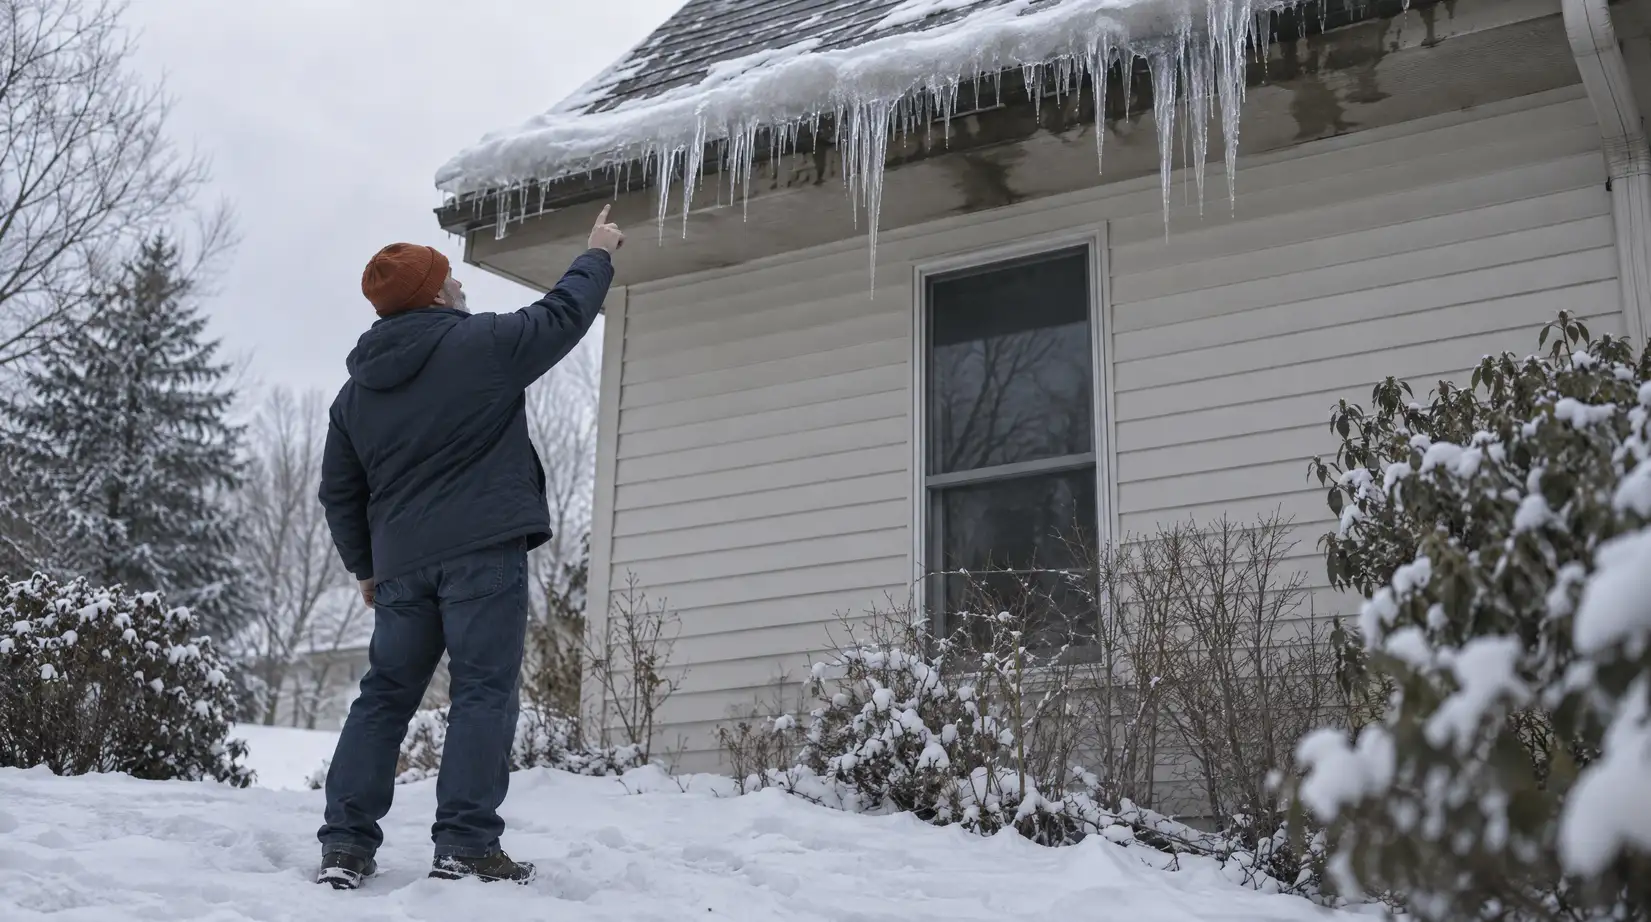
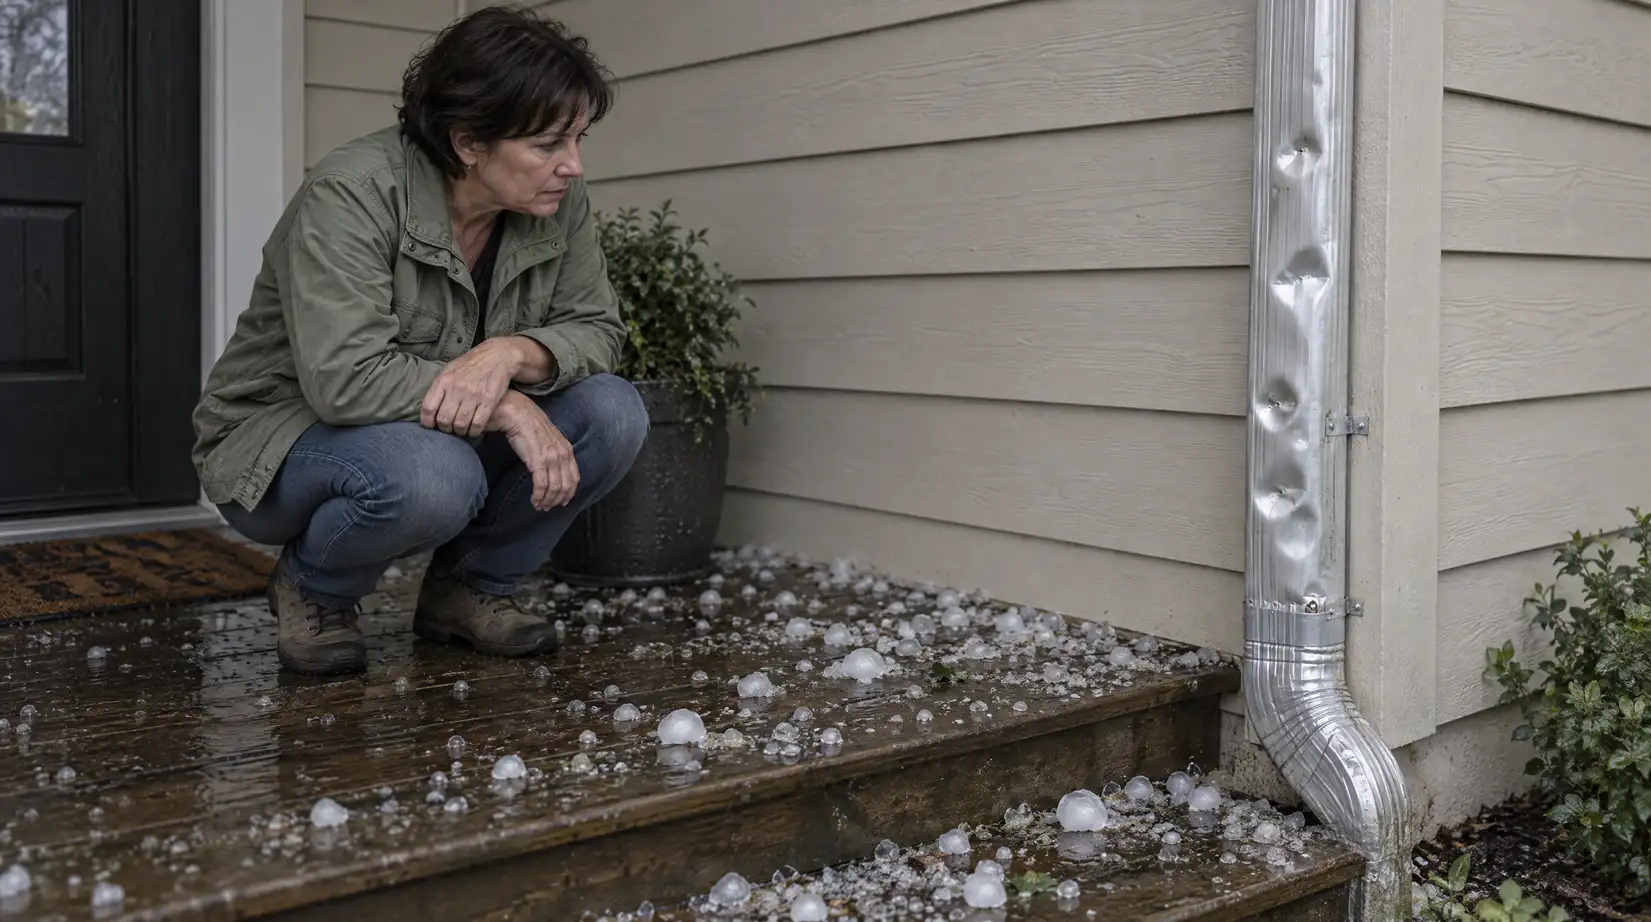
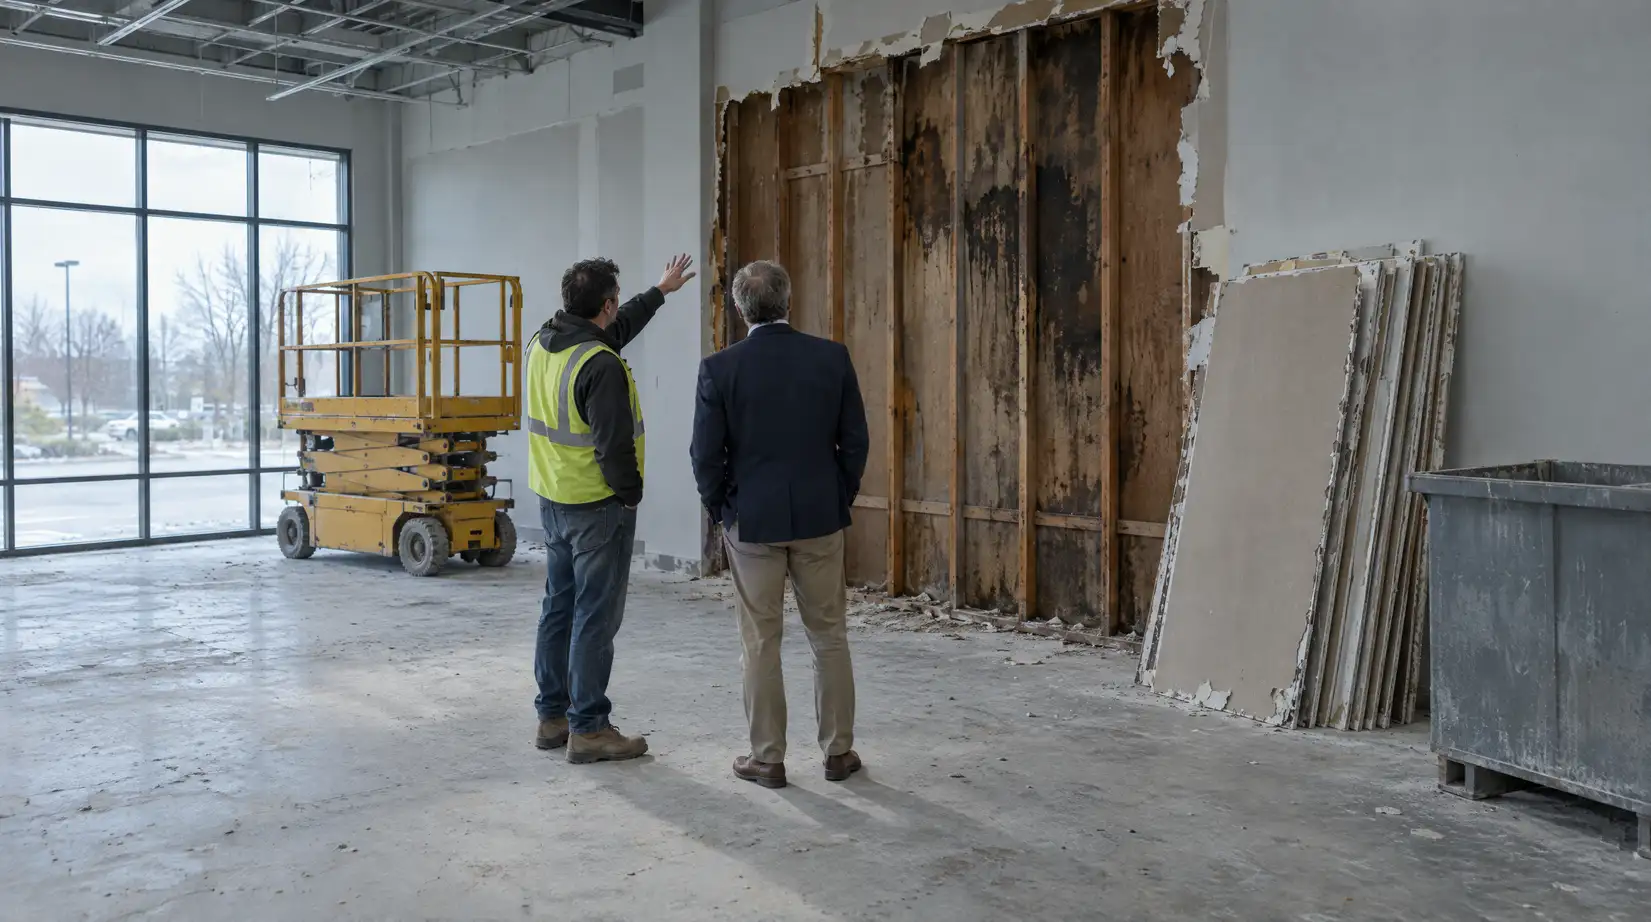
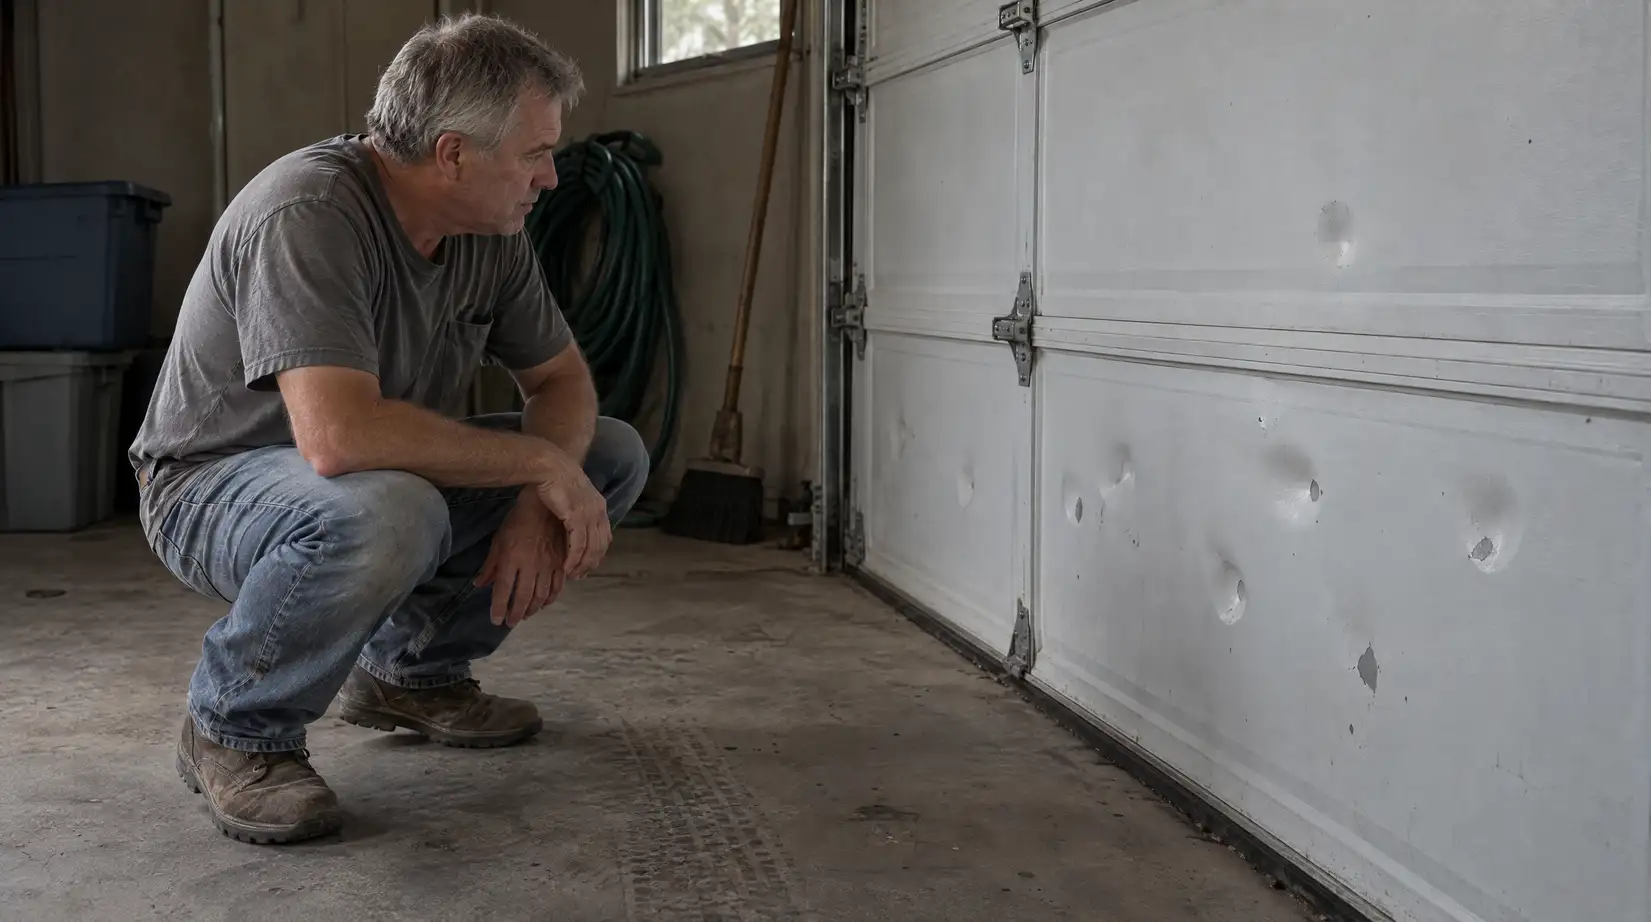
The primary objective of the visit is to establish exactly what caused the damage and how far it extends. The adjuster will walk the perimeter, inspect the roof if applicable, and examine interior spaces affected by the event. They document the scene to confirm that the cause of loss aligns with a covered peril in your policy [1]. This distinction matters because most home policies cover sudden and accidental events such as windstorm, hail, or a sudden release of water, while excluding continuous leaks and ordinary wear and tear [5]. In practice, that means the adjuster is looking for markers that separate sudden wind damage from long-term structural settling, or a burst pipe from gradual seepage. Coverage varies by policy and by state, so read your own declarations page and exclusions. They will take measurements, draw diagrams, and photograph elevations to build a comprehensive file for the carrier.
Actual Cash Value Assessments
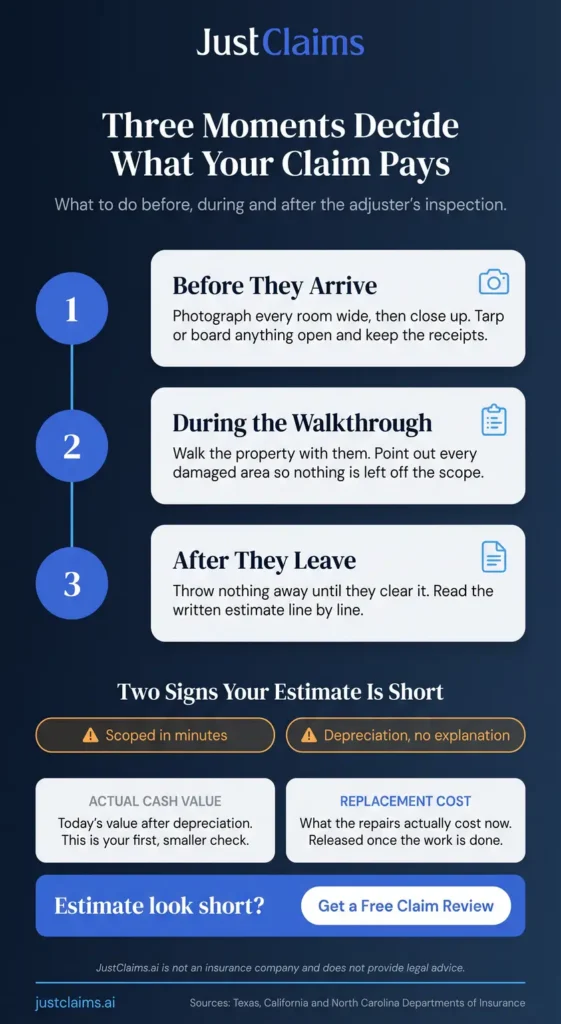
During the inspection, the adjuster makes a preliminary assessment of the damage based on the actual cash value of the property just prior to the loss [2]. Actual cash value is the amount needed to repair the property minus the decrease in value from age or use [4], which is why the initial estimate can land well below the cost of brand-new replacement materials. If you carry replacement cost coverage, the insurer may first pay the actual cash value and then reimburse the withheld depreciation once the work is completed and receipts are submitted — a step commonly called recoverable depreciation [4]. The exact sequence depends on your policy language and your state’s rules. The home insurance adjuster walks the property for the carrier’s file — not for yours.
What to Do Before the Adjuster Arrives
Because the adjuster’s preliminary assessment heavily influences your final payout, taking proactive steps before they arrive is essential for a fair evaluation. Preparing the site and organizing your documentation puts the carrier on notice that you are actively managing your recovery.
Mitigate Further Damage and Save Receipts
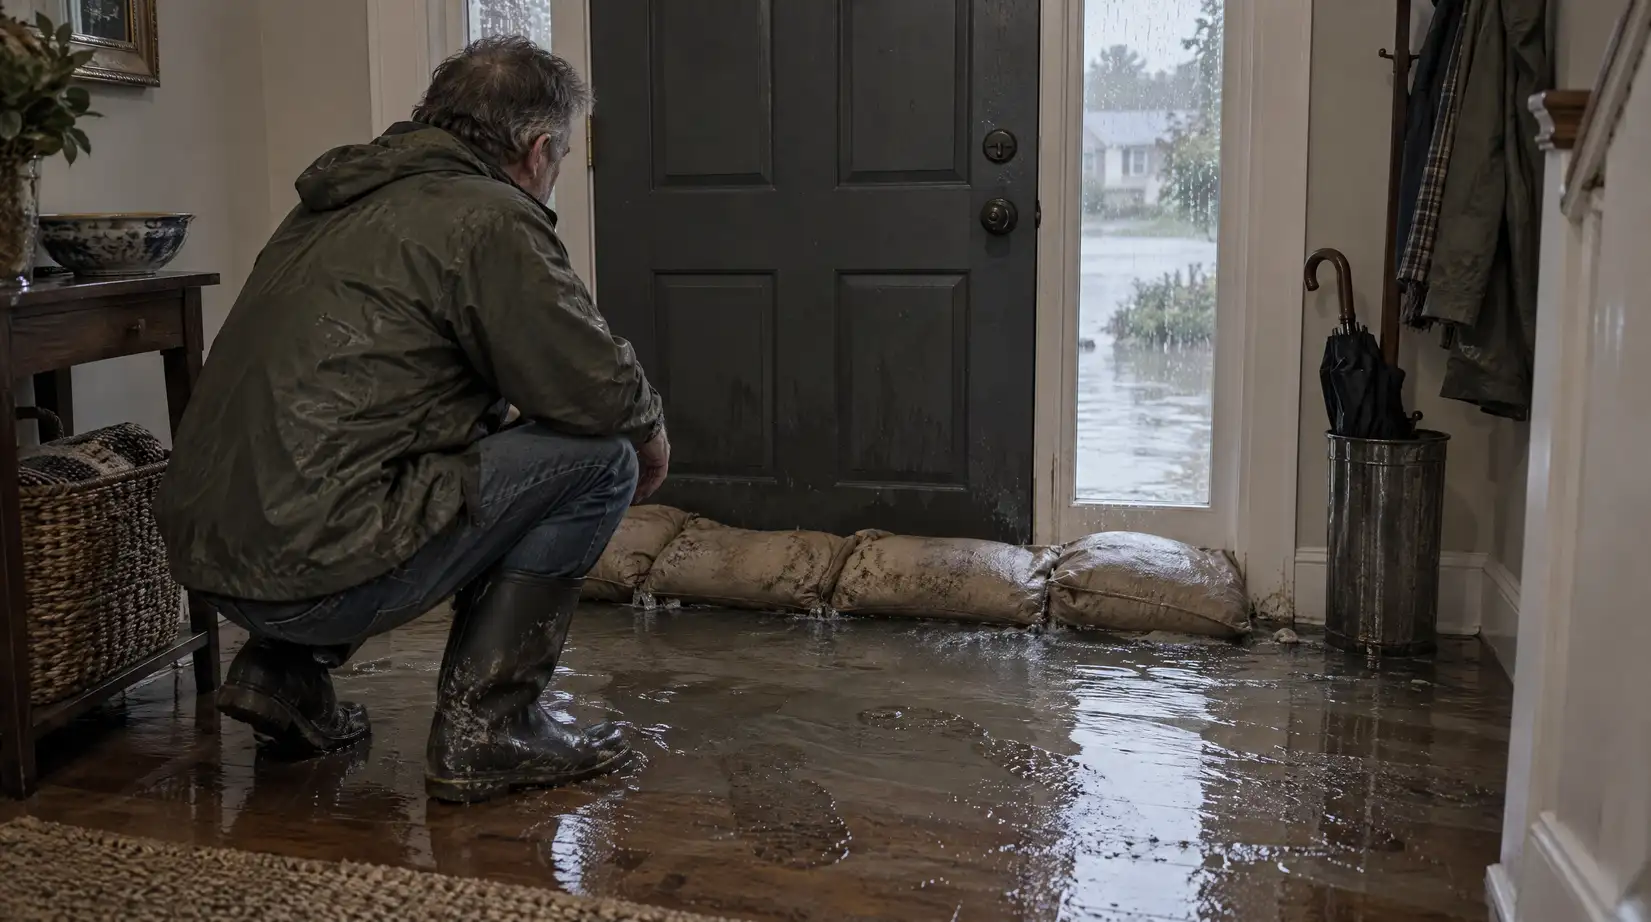
Before the inspection, property owners should protect their property from further damage by making temporary repairs, keeping detailed records, and saving all receipts for the repair expenses [2]. Tarping a damaged roof, boarding up broken windows, or hiring a mitigation company to extract standing water shows the carrier you are fulfilling your policy duties. This matters because homeowners policies may not cover ensuing damage if you did not take reasonable steps to secure the property after the loss [3]. Keep a dedicated folder for all invoices, contracts, and material receipts related to these emergency interventions: insurers generally reimburse reasonable costs to protect the property as long as receipts are retained, though the amount allowed is set by your policy terms [3]. Take care not to put your own safety at risk while making temporary repairs.
Preserve Damaged Items
It is a natural instinct to want to clean up immediately after a disaster, but doing so can jeopardize your financial recovery. Avoid disposing of any damaged property or items until the insurance adjuster or company has inspected the damage and provided clearance [2][3], unless local law or health and safety requirements require earlier removal — in which case, photograph all items thoroughly before disposal. If you throw away ruined drywall, soaked carpeting, or destroyed personal belongings before they are documented, the adjuster cannot verify their existence or condition. This lack of evidence often leads to those items being excluded from the estimate entirely. If damaged items pose a health hazard, such as moldy materials, move them to a safe location on the property, like a garage or covered patio, rather than sending them to a landfill.
Prepare Your Own Documentation
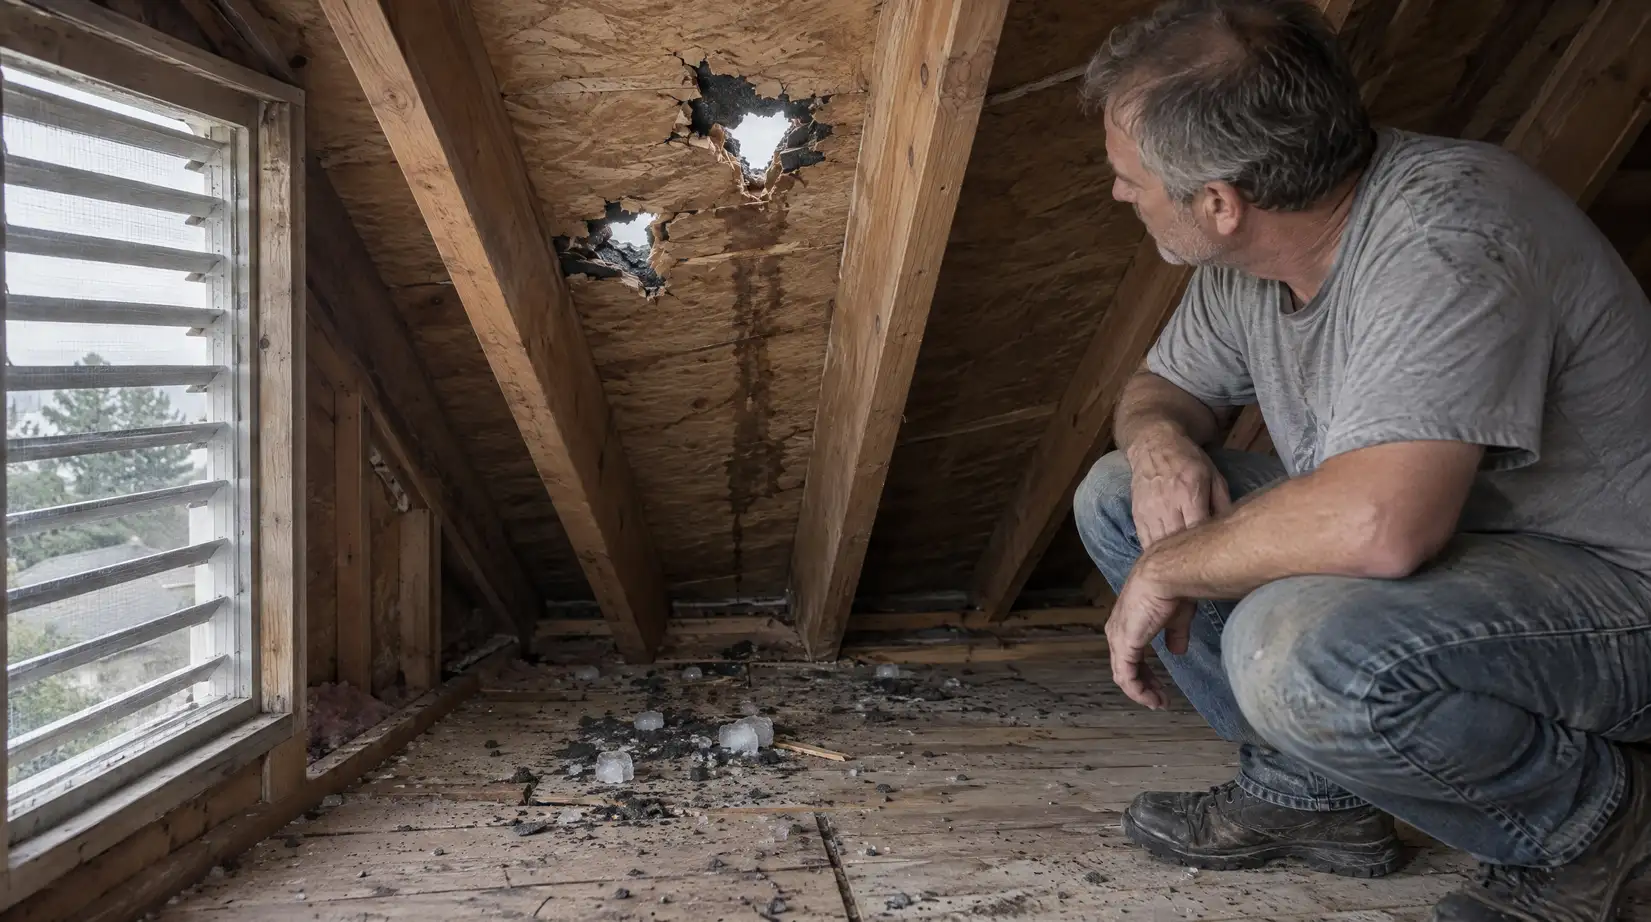
Do not rely solely on the adjuster’s photographs to tell the story of your loss. Take your own comprehensive photos and videos of the damage before making any temporary repairs. Capture wide-angle shots of entire rooms to provide context, followed by close-up images of specific damage points. Compiling a written room-by-room damage list — including brand names and model numbers for appliances and electronics — is a recommended starting point for documenting a personal property loss [3]. Pair it with written bids from licensed contractors that price the work line by line [3], so the full scope of the required restoration is on paper before the adjuster forms an opinion. Having this documentation ready when the adjuster arrives allows you to guide their attention to areas they might otherwise overlook.
What to Point Out During the Walkthrough
Since the adjuster is tasked with estimating the claims payment based on a visual inspection, your active participation during the walkthrough can prevent costly omissions [1]. Adjusters often handle multiple claims in a single day, especially following a severe weather event, which can lead to rushed evaluations.
Hidden or Secondary Damage
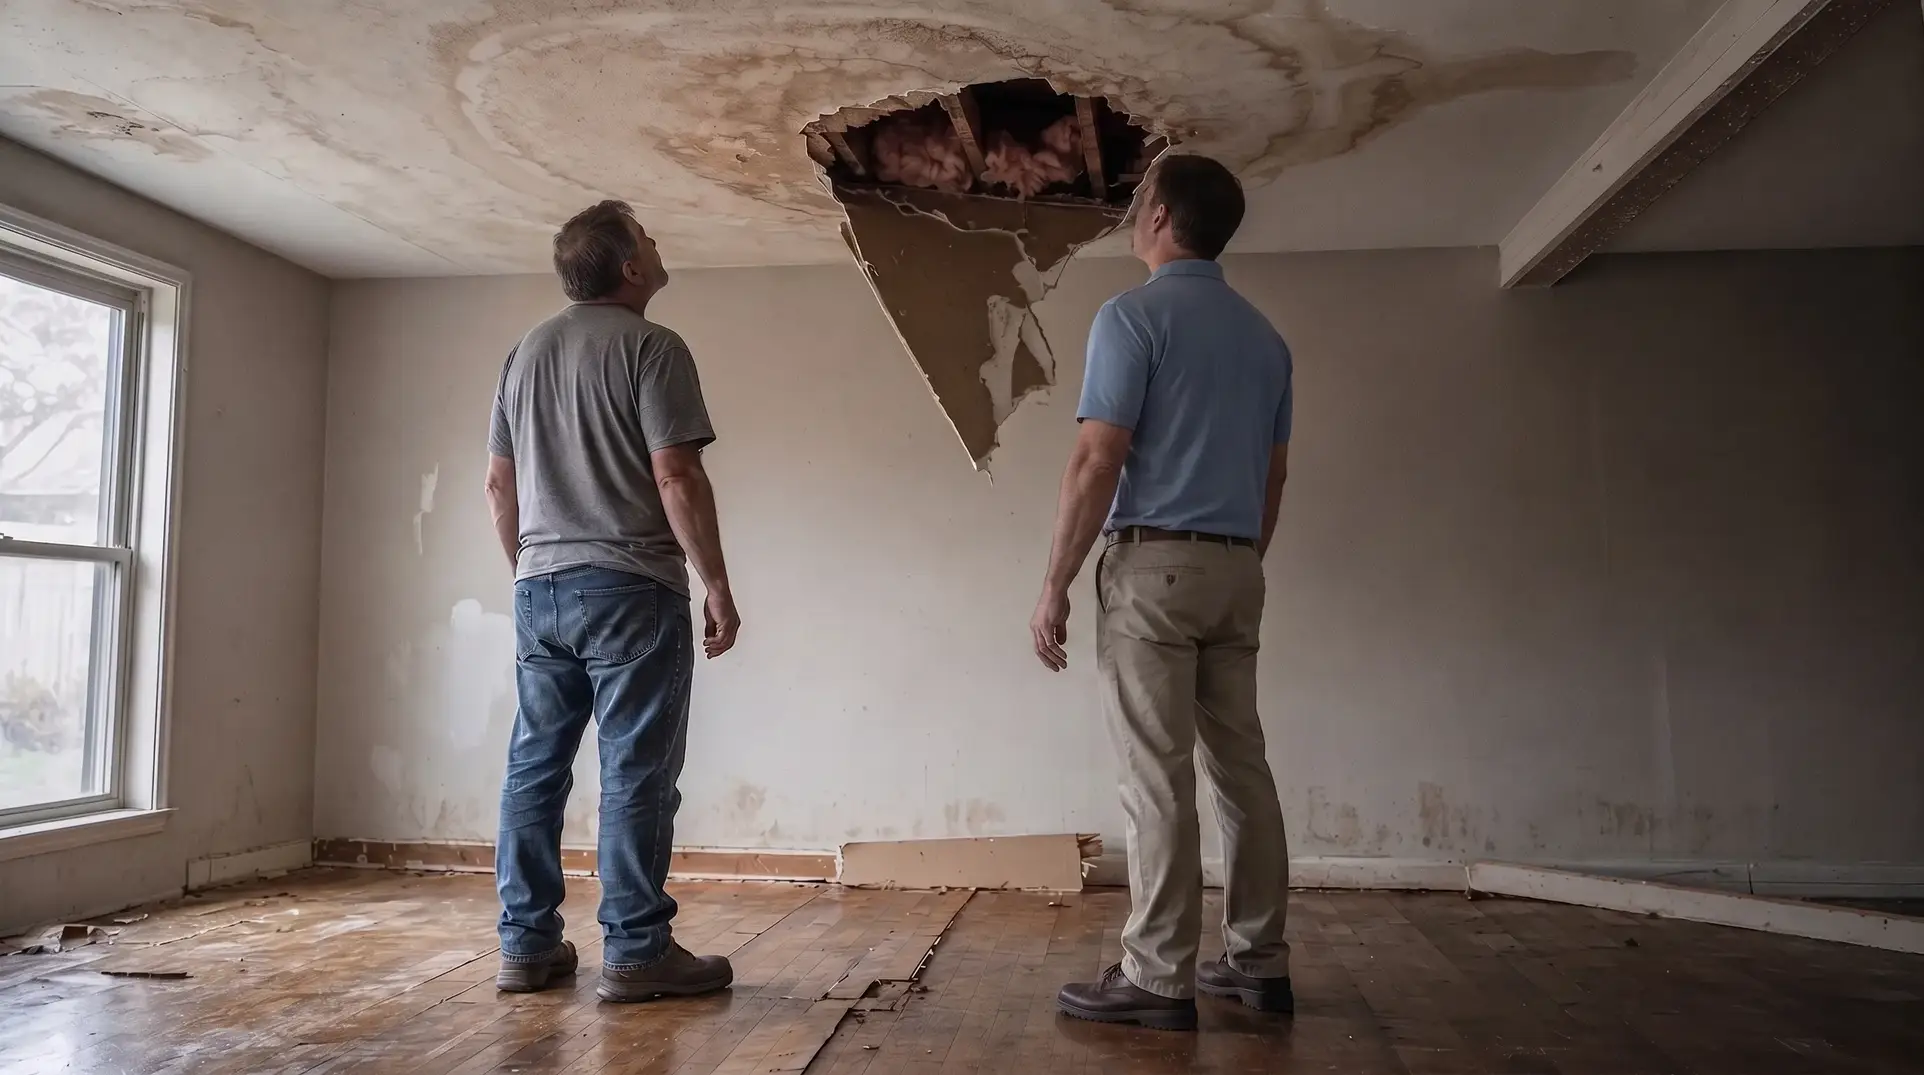
Property owners should try to be present during the adjuster’s inspection to ensure that all property damage is accounted for and nothing is missed [1]. While the adjuster will easily spot a collapsed ceiling or a shattered window, they may miss secondary issues that require a closer look. Point out hidden damage such as water stains behind heavy furniture, hairline cracks in the foundation, moisture trapped in the insulation, or smoke residue inside the HVAC system. By directing their attention to these less obvious areas, you help make the initial scope of loss as accurate as possible. Whose interests each side serves comes down to the public adjuster vs claims adjuster distinction.
Pre-Existing Condition Clarifications
Adjusters are trained to look for signs of wear and tear, deferred maintenance, or pre-existing damage — categories most home policies exclude outright [5]. If they note a pre-existing condition, they may exclude that portion of the damage from your payout. Be prepared to provide maintenance records, recent inspection reports, or photos taken before the loss to support the position that the property was in good condition prior to the incident. If the adjuster questions the age of your roof or the condition of your plumbing, having documentation readily available can prevent a dispute over what was caused by the covered peril versus what was pre-existing.
Red Flags and When to Seek a Second Opinion
Even when you prepare thoroughly and attend the inspection, the adjuster’s preliminary assessment based on actual cash value may still fall short of your actual recovery needs [2]. Recognizing the warning signs of an inadequate inspection can help you decide when to escalate the claim.
Rushed Inspections
If an adjuster spends very little time evaluating a complex loss, there is a risk that critical details may be missed. State guidance describes this scenario directly: where time constraints prevent a complete inspection, the adjuster may “scope the loss” and a second visit is needed to finish the evaluation [3]. A thorough inspection requires measuring rooms, checking for structural shifts, examining the attic or crawlspace, and documenting all affected materials. A rushed visit often results in a lowball estimate that fails to cover the true cost of restoration. If you observe the adjuster rushing through the property without taking detailed notes or photographs, document the duration of their visit and prepare to scrutinize their estimate closely.
Unexplained Exclusions
When the initial estimate arrives, review it carefully against your own documentation and contractor bids. Consumer advocates note that underpayment is common and often invisible to the policyholder: without construction estimating expertise, you may not realize the scope or unit pricing is short [6]. If the adjuster excluded entire rooms, ignored contractor estimates, or applied depreciation without a clear explanation, those are reasons to ask for a written breakdown. A formal insurance claim appraisal is one way to challenge a number you believe is too low.
One option is an independent scope of loss prepared by a construction estimator, an experienced contractor, or a public adjuster, which gives you an apples-to-apples benchmark against the carrier’s estimate [6]. A public adjuster is hired by the policyholder — not the insurer — to negotiate the claim, and is typically paid a percentage of the settlement under a signed contract; public adjusters must be licensed in the state where they work, and you are never required to hire one for your claim to be paid [7]. Verify any adjuster’s license with your state insurance department before signing.
Frequently Asked Questions
Can I throw away damaged items before the adjuster arrives?
Generally, no. State guidance is direct on this point: do not throw out damaged items until the adjuster has told you that you can [3], and do not dispose of damaged property until your producer, adjuster, or company says so [2]. If health, safety, or local rules force earlier removal, photograph and document each item thoroughly first. Throwing items away prematurely prevents the carrier from verifying the damage and can result in those items being excluded from your payout.
Do I need to be home when the insurance adjuster inspects the damage?
Attending is strongly recommended, though not usually mandatory. State insurance regulators advise policyholders to try to be there when the adjuster inspects the damage, so nothing is missed [1]. Being there allows you to point out hidden damage and answer any questions the adjuster might have about the property’s condition prior to the loss.
How does the adjuster determine the initial payout amount?
The initial figure is typically calculated using a valuation method that accounts for depreciation. The carrier’s adjuster makes a preliminary assessment based on the actual cash value of the property just prior to the damage [2] — that is, the cost to repair minus the decrease in value from age or use [4]. Under a replacement cost policy, the withheld depreciation may become recoverable once repairs are completed and receipts submitted [4].
What should I do if my property is exposed to the elements after a loss?
Most policies require you to protect the property from further loss while waiting for the inspection. Secure the premises with temporary fixes, keep a record of what you do, and save all receipts for those expenses [2]. Insurers generally reimburse reasonable protective costs when receipts are retained, and policies may exclude ensuing damage where reasonable steps were not taken [3]. Your specific duties and reimbursement limits are set by your policy, so confirm them with your insurer.
How to Protect Your Settlement Rights
The adjuster’s inspection is a critical step in the claims process, but it is only the beginning. Your goal from here is to document the loss fully and negotiate a settlement that reflects the true cost of repairing the property [6]. By documenting the scene, preserving evidence, and actively participating in the walkthrough, you establish a strong foundation for your recovery.
Upload your claim documents to JustClaims for a free review of your adjuster’s estimate. We will show you the line items and scope gaps worth questioning — no obligation, and no guarantee of any particular outcome.
This content is for general informational purposes only and does not constitute legal, financial, or insurance advice, nor a coverage determination. Coverage outcomes depend on the specific terms, conditions, endorsements, and exclusions of each policy and on the laws and regulations of the applicable jurisdiction. Guidance from one state’s insurance department is cited here as representative practice and may not apply in your state. JustClaims is not an insurance carrier and does not decide claims. Policyholders and contractors should consult a licensed professional or their state insurance department about their particular situation.
Sources
[1] Texas Department of Insurance. “Working with an insurance adjuster.” https://www.tdi.texas.gov/tips/working-with-adjuster.html
[2] Commonwealth of Massachusetts, Division of Insurance. “Obtaining Payment for Your Home Insurance Claim.” https://www.mass.gov/info-details/obtaining-payment-for-your-home-insurance-claim
[3] California Department of Insurance. “Residential Property Claims Guide.” https://www.insurance.ca.gov/01-consumers/105-type/95-guides/03-res/res-prop-claim.cfm
[4] North Carolina Department of Insurance. “Actual Cash Value vs. Replacement Cost Value.” https://www.ncdoi.gov/consumers/homeowners-insurance/actual-cash-value-vs-replacement-cost-value
[5] Texas Department of Insurance. “Home insurance guide.” https://www.tdi.texas.gov/pubs/consumer/cb025.html
[6] United Policyholders. “The Scoop on ‘Scope’ (of loss).” https://uphelp.org/claim-guidance-publications/the-scoop-on-scope-of-loss/
[7] Pennsylvania Insurance Department. “Public Adjuster.” https://www.pa.gov/agencies/insurance/consumer-help-center/learn-about-insurance/homeowners/public-adjuster

Collin Corcoran

Experienced Public Adjuster and Property Claims Specialist, Collin is licensed in New York (#1603393), New Jersey (#3003700204), and Connecticut (#19820270). With 20+ years of hands-on construction and property damage experience, he specializes in residential and commercial claims, complex loss inspections, policy review, detailed estimating, and strategic negotiation. Collin’s background in construction, asset management, emergency response, and claims documentation allows him to accurately identify damage, understand repair requirements, and advocate effectively for policyholders. He works with homeowners, business owners, contractors, and insurance professionals to move claims forward with clarity, accuracy, and confidence. Collin is committed to transparency, technical precision, strong communication, and securing fair outcomes for policyholders.